Precautions for use
・Do not cut hard things such as frozen foods, fish or chicken bones.
・Applying impact or force may cause the blade to spill or break.
・Regardless of whether the blade is made of carbon steel or stainless steel, rinse with water as soon as possible after use and wipe dry thoroughly before storing.
・Please note that leaving the blade to dry naturally with water remaining will cause rusting and lead to reduced sharpness and blade spillage.
Preparation before sharpening
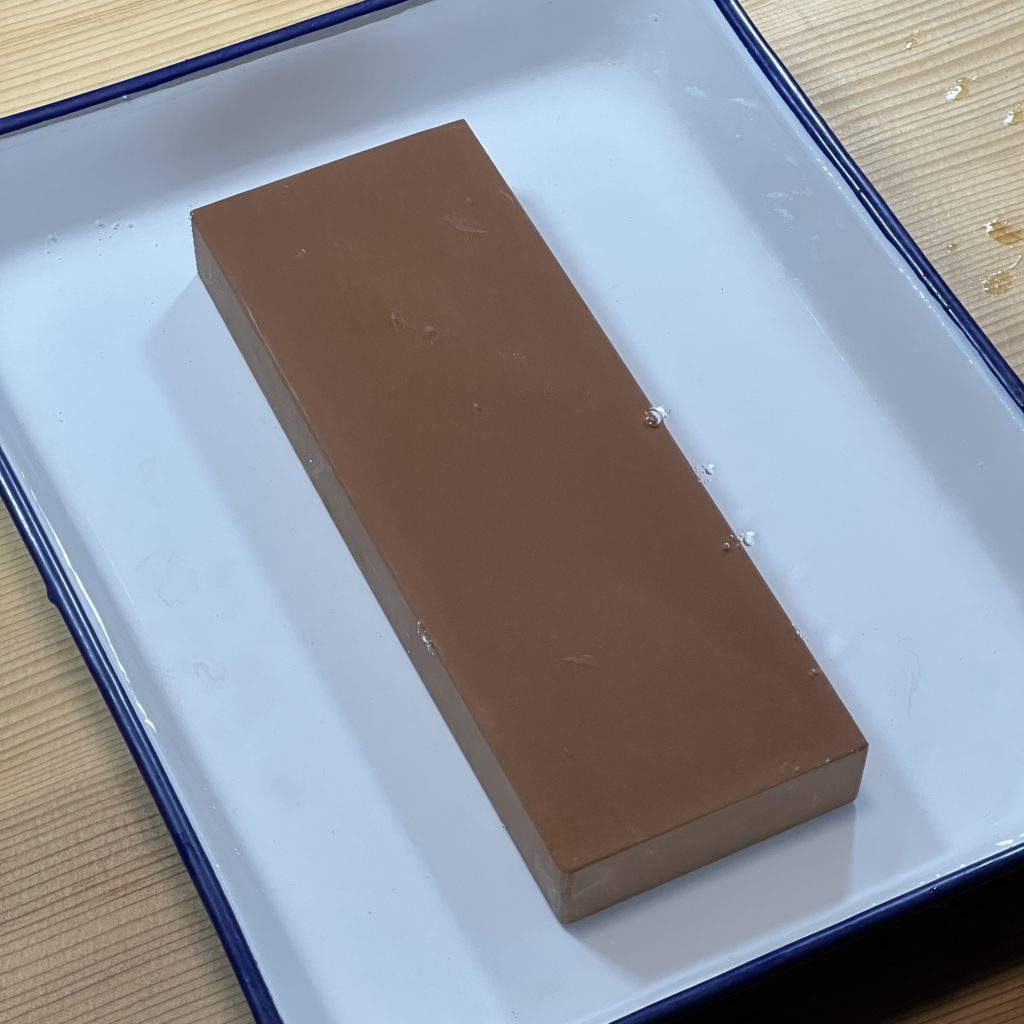
Soak the whetstone in water.

Soak the whetstone in water and begin sharpening when it is thoroughly moistened.
If air bubbles appear when the whetstone is soaked in water, soak it thoroughly until no more air bubbles appear.
If bubbles do not appear, the whetstone does not absorb water or does not need to be soaked in water.
In this case, the stone can be used immediately after thoroughly wetting the surface.
Since the handling method differs depending on the whetstone, and some whetstones should not be soaked in water for a long period of time, please be sure to check the instruction manual that comes with the whetstone before use.
Checking the condition of the whetstone
Before starting sharpening, be sure to check that the whetstone is flat.
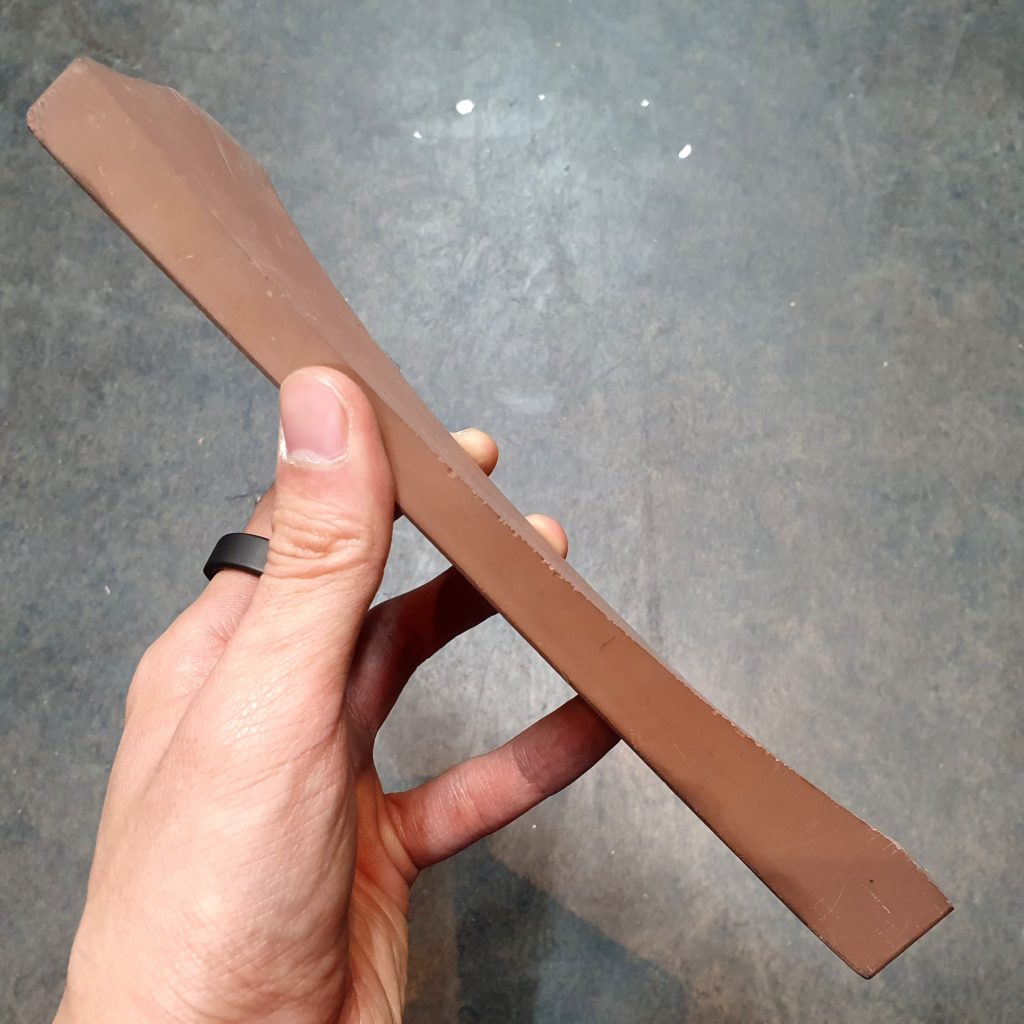
Many people who cannot sharpen well use a concave whetstone, so check to see if the surface of your whetstone is flat, and if it is concave, use a flattening stone to sharpen it until it is flat.

If the surface is heavily dented as shown in the photo, it is recommended to purchase a new grinding stone as it will take a very long time to completely flatten the surface.
How to flatten

For beginners, it is recommended to draw radial lines on the whetstone as shown in the photo, and then straighten the surface until all the lines disappear cleanly.
The point is not to exert excessive force.
When flattenig the surface, apply moderate force to the center of the correcting wheel and be aware that the wheel should glide evenly across the surface.


The surface of the whetstone should be adjusted back and forth, left and right, and at an angle to ensure even and even adjustment.
It is important to flatten the surface not only before sharpening, but also between sharpenings to maintain the flatness of the whetstone.
Check the condition of your knife
Before you start sharpening, be sure to check the condition of your knife.
By setting some objectives before you start sharpening, you will be able to sharpen your knives efficiently and accurately.
When checking, please refer to the following points.
・Are there any spills on the blade?
・Is the thickness of the blade appropriate?
・Is the knife distorted?
・Is the knife deformed from its original state?


By checking these things, you can determine if the knife is in a condition that you can repair it by yourself or if you need to ask a professional store to do so.
Especially, if there is a big chip on the blade or the knife itself is distorted, we recommend you to consult a specialized knife store instead of trying to repair it by yourself.
How to sharpen
Please refer to the following examples to judge which grade is the best to start with depending on the condition of your kitchen knives.
・When there is no need to remove thickness
・If there is no serious problem in your knife
→Start sharpening with a finishing whetstone (#3000~).
・When thickness removal or shaping is necessary
・When there are small spills on the blade
→Start sharpening with a medium whetstone (#1000).
・When there are large chips or deformation of the blade
→Start sharpening with a rough whetstone (#400 or lower).
*If the condition is bad, we recommend you to ask a specialized knife store to sharpen your knife.
We think it is difficult to judge at first, so we recommend you to start sharpening with a finishing stone, especially if you have just bought the knife.

If you sharpen at an angle of 45~60 degrees to the whetstone, it will be more stable.
The angle of the tip of the blade is generally 12~15 degrees for Santoku knife.
It is often said that the thickness of the blade is equivalent to the thickness of a coin or two, but the angle varies depending on the thickness and condition of the knife, so please refer to it as a guide only.

If you are a beginner, you should divide a knife into three equal parts, and sharpen each part of the blade, counting the number of times so that you can sharpen each part as evenly as possible.
The trick to improve is to always be aware of which part you are sharpening.
It is modt important to check each time that you are sharpening the part you are aiming for, and match the feeling in your hand with the image in your mind.
When you hold down the knife, be sure to put your finger on the part you want to sharpen.
At this time, it is important not to exert too much force.
Adjust the angle with your hand holding the knife, and with the other hand, lightly hold the part you want to sharpen and push it forward.

Be careful not to sharpen the part with a strong warp at the cutting edge, because it will not hit the whetstone even if you sharpen it in the same way as the part from the middle of the blade to the edge of the blade.
If the cutting edge is not sharpened well, the curve of the blade will disappear and approach a straight line.

Please sharpen the cutting edge by lifting the handle a little toward the cutting edge as shown in the picture.
The point is to adjust the height of the handle while keeping the angle between the knife and the whetstone at 12~15 degrees.
Check the condition of the blade as you sharpen it, and sharpen it until the whole blade has a burr.

You can easily feel the burr by placing your finger on the side of the knife and stroke it toward the edge of the blade as shown in the picture.
If you can feel the roughness on your fingertip, it is a proof that the edge of the knife has been sharpened.
The finer the whetstone is, the smaller this sensation becomes and the harder it becomes to recognize.

Some people touch the edge of the blade, but please note that this method cannot tell if there are burr or not.
When you can see the burr on the whole knife, next, you switch to the other hand and sharpen the other side in the same way.
When you can confirm that the burr are even on the other side, set the knife at a slight angle and slide it lightly on the whetstone 1-2 times on both sides.

Finally, you rub the edge of the blade with a piece of newspaper to remove small chips.
Try actually cutting the food and check if the sharpness is as you expected.
Review of key points
・Always use a flat whetstone.
・Check the condition of the knife before sharpening.
・Do not use too much force when sharpening.
・Sharpen while checking the condition of the knife and the whetstone.
・The goal is to match the feeling of the tip of the hand with the image.
We have explained relatively simply because this is a basic section, but there are various methods of sharpening depending on the type and condition of the knife, and it is a very deep process.
In today’s world where there is so much information, many people tend to have too much knowledge and take too much time to select a whetstone and a knife.
Of course, we would like you to take your time and choose carefully because they are very important tools, but from my experience, I believe that there are many things that can be learned by using the tools.
It is definitely the best way to improve your skills by actually picking up a tool and experiencing it, rather than worrying too much.
If you are interested in knives and want to learn more about them, we recommend you to buy a book.
